 |
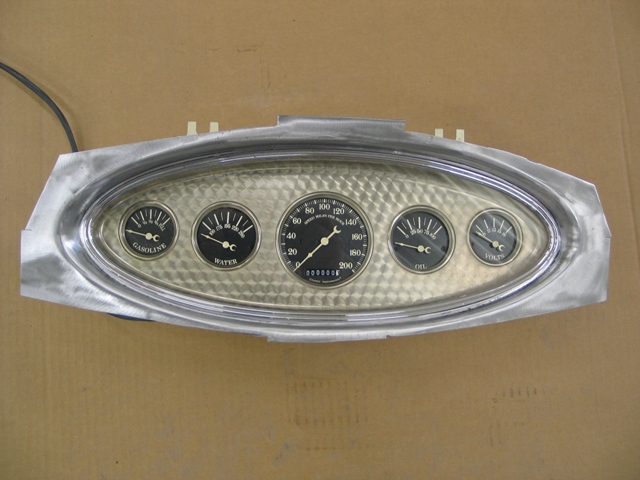
George sent us up this panel - we think it's
perfect for the look we're after. Classic Instruments went through and
supplied new gauges, fonts and colors. This panel has the same basic
shape as the original except it's a bit larger.
|
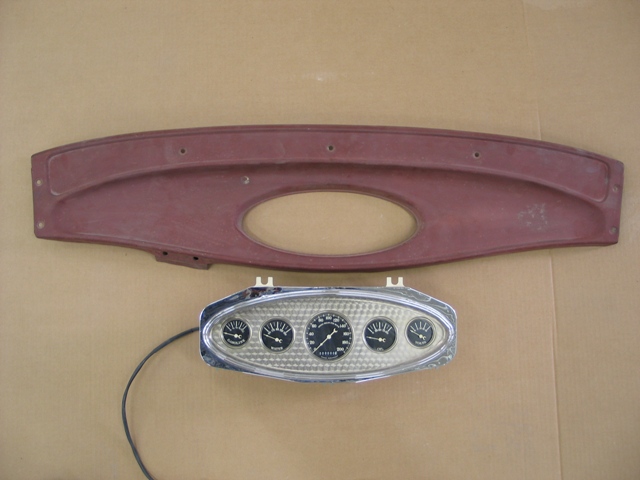 |
As you can see, we're going to have to
expand the hole a bit in order to make this panel fit. Hopefully when
were done, you won't be able to tell we cut it up.
|
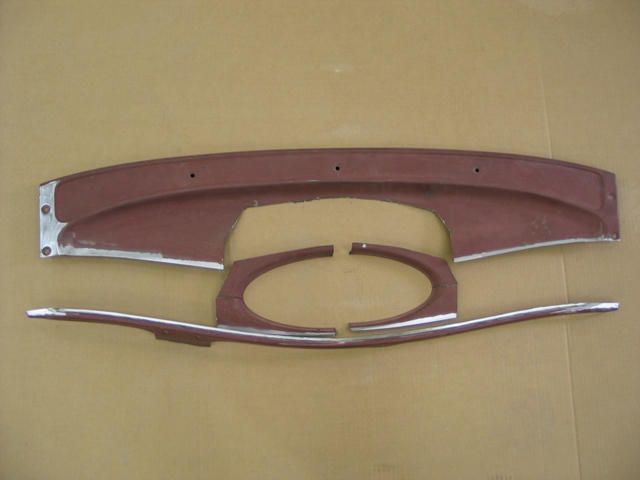 |
Here's the initial cuts. We have to bring
the lower part of the dash down about 3/4", plus seperate it on the
top and bottom and sides.
|
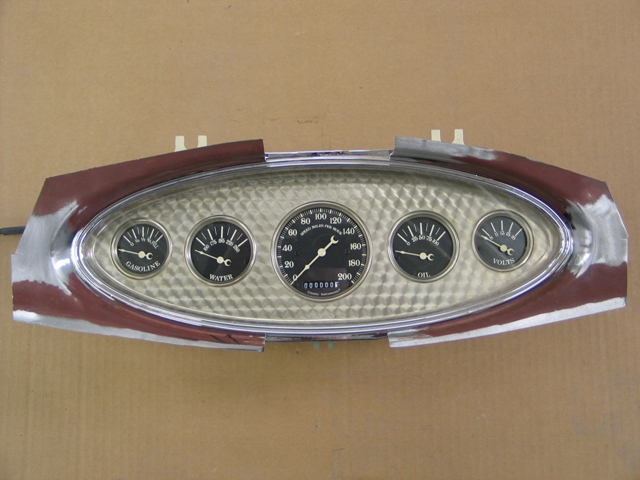 |
We've open up the corners a bit - now we
need to fill the gaps top and bottom |
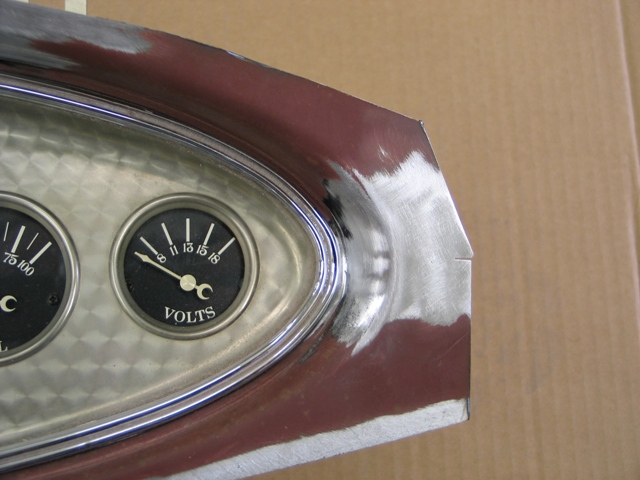 |
Here's
a close up of the corner. Everything is TIG welded, so we should be
able to metal work everything really nice.
|
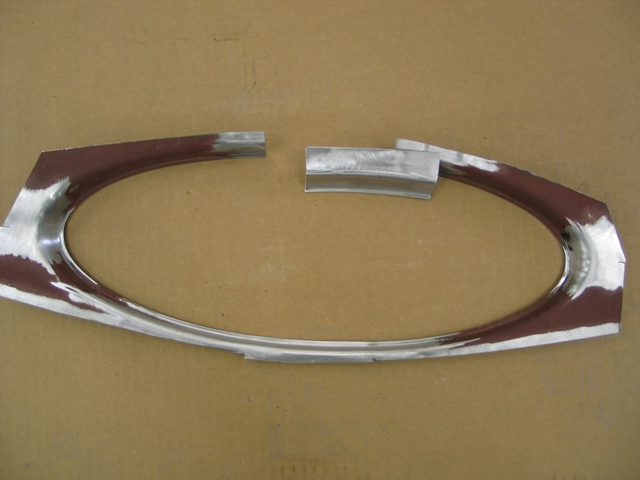 |
Bottom is now filled and we made this
piece to fill the top.
|
 |
Now the area around the panel is complete,
we now just need to fit it to the dash. |
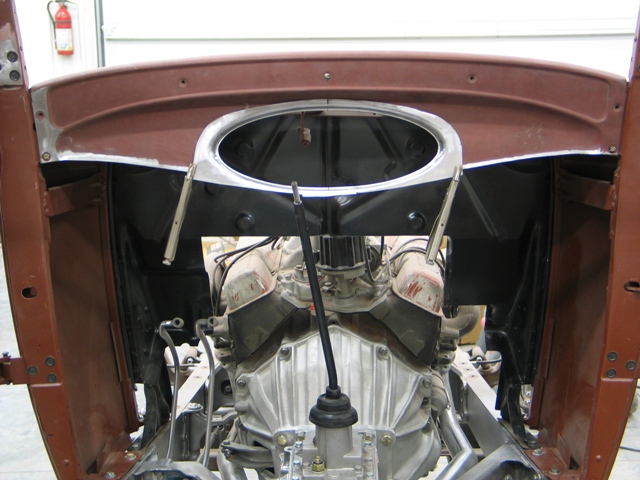 |
We're mocking it up to make sure we get it
in the correct location. |
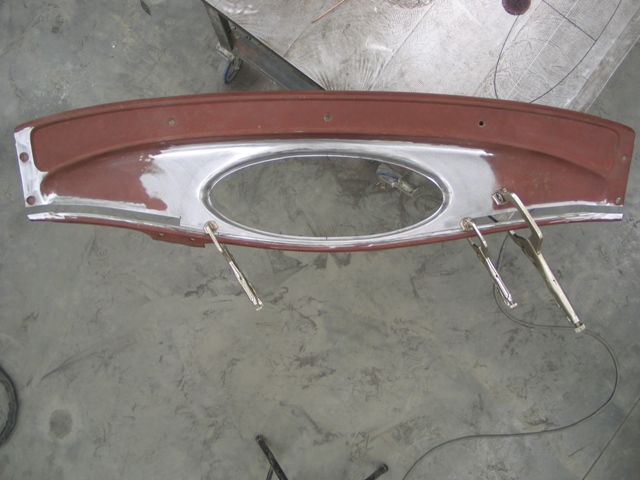 |
Now that it's welded back to the dash,
we just need to made filler strips for each side of the lower dash.
|
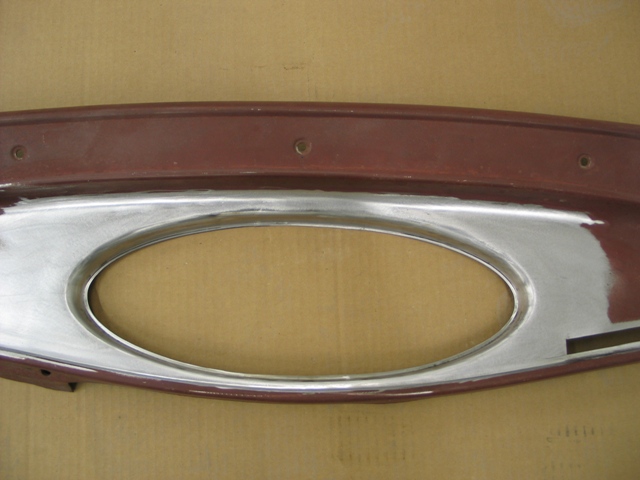 |
A close up shot shows how nice the dash is
turning out - alot of time flat filling down the welds so everything is
level. When it's completed, you will only see a slight discoloration
between the welded areas. Only a little primer will be needed before
painting. |
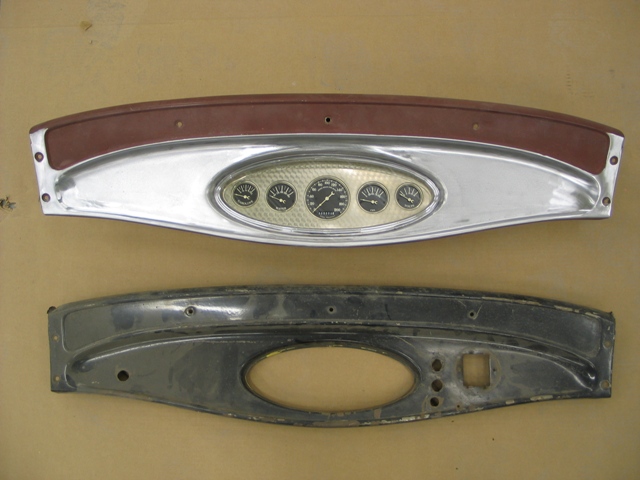 |
Here's a shot of the two dashes - not much
change, just everything is a little larger. We look at it as though
this could have been the optional gauge panel for the Sedan Delivery. |
 |
We are really happy with the look in the
car. Nothing really stands out as being different, but the panel is
pretty killer! |